
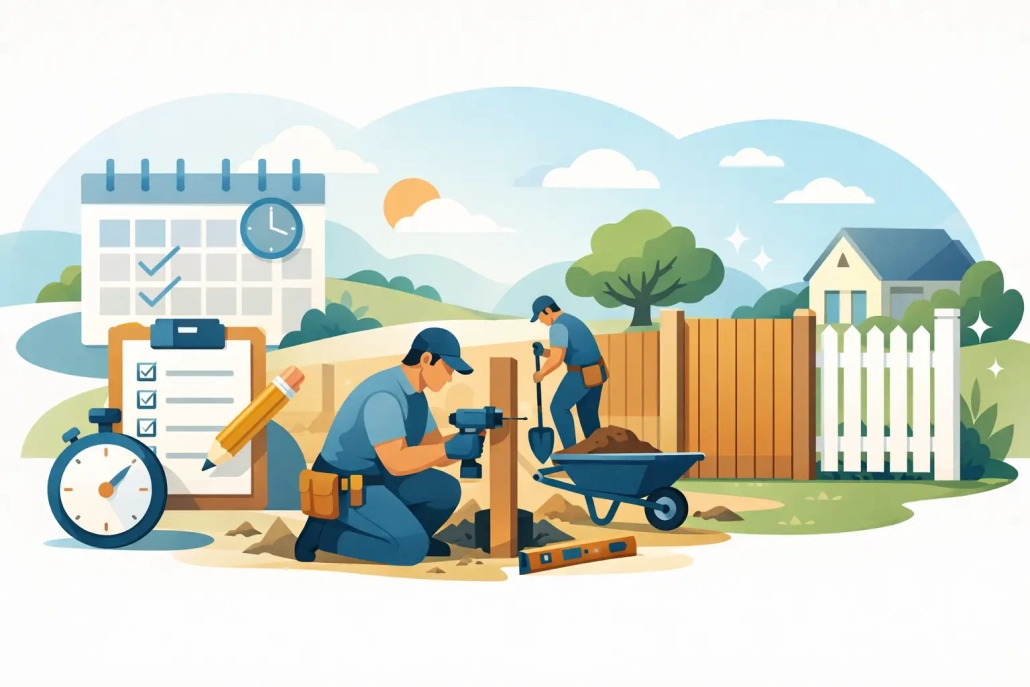
Your Fence Installation Timeline Explained
A new fence often looks like a straightforward project from the street. On the ground, the fence installation timeline depends on much more than setting posts and attaching panels. Property lines, underground services, material availability, access for equipment, weather, and permit requirements can all affect the schedule.
For a typical residential project, installation itself may take only a few days. The full process, from the first site visit to a finished fence, commonly takes several weeks. Planning early gives you more material choices, better scheduling options, and fewer surprises once work begins.
What Affects a Fence Installation Timeline?
Every property has its own conditions. A level backyard with clear access and a standard cedar fence moves differently than a commercial chain link enclosure on rocky ground. The best timeline starts with an on-site assessment, not a guess based on linear footage alone.
The biggest scheduling factors are the fence type, total length, gate requirements, site conditions, municipal rules, and the contractor’s current workload. A simple replacement along an existing line can be efficient. A custom build with retaining needs, slopes, trees, rock, concrete, or multiple gates requires more preparation.
On Vancouver Island, wet weather can also influence the work. Professional crews can complete many tasks in light rain, but heavy rainfall, saturated soil, high winds, or unsafe ground conditions may delay concrete work, excavation, and material handling. A good contractor builds reasonable weather flexibility into the schedule rather than rushing work that needs to last.
Stage 1: Site Visit, Design, and Estimate
Most projects begin with a site visit and a detailed quote. This stage usually takes several days to a week, depending on scheduling and how quickly design decisions are made. The goal is to understand what the fence must do: create privacy, contain pets, improve security, keep deer out, mark a boundary, or meet a commercial requirement.
During the visit, the contractor looks at grade changes, drainage, trees, retaining walls, access points, existing structures, and visible obstacles. They will also discuss material options. Cedar offers a warm, private appearance, while ornamental fencing provides a clean, durable look. Chain link, wire, and deer fencing are practical choices for larger properties, animal control, and functional enclosures.
This is the time to identify custom details. Gate width, latch direction, privacy slats, stepped panels, fence height, and how the new fence meets an existing deck or building all affect the final plan. Clear decisions at the estimate stage prevent avoidable changes later.
Stage 2: Property Lines, Permits, and Approvals
This stage can be quick, or it can become the longest part of the project. Homeowners should confirm the property line before a fence is built. Existing fence lines are not always accurate boundaries, particularly on older properties. If there is uncertainty, a survey or professional property-line review may be necessary before construction begins.
Permit rules vary by municipality and by the type and height of fence. A standard backyard fence may not require a permit, while a tall fence, pool enclosure, commercial security fence, or fence near a road frontage may have specific requirements. Strata properties and planned communities can also require written approval before work starts.
Allow extra time if the project needs municipal review, strata approval, or coordination with neighboring owners. A contractor can help clarify practical construction requirements, but the property owner is responsible for securing approvals where required. Getting this handled before materials are ordered protects the schedule and avoids costly changes.
Stage 3: Material Ordering and Scheduling
Once the quote is approved and the design is confirmed, materials are ordered and the installation date is scheduled. Common fence materials may be available quickly, but specialty ornamental components, custom gates, specific cedar grades, and commercial hardware can have longer lead times.
For many standard residential jobs, this stage takes one to three weeks. It may take longer during the busy spring and summer season, when homeowners, property managers, and acreage owners are all scheduling outdoor work. If your project needs a specific completion date for a move, renovation, tenant turnover, or livestock plan, start the conversation early.
Material availability is only one part of scheduling. Crews also need enough time to complete site preparation properly. Vancouver Island Fence Company plans projects around the actual conditions of the property, including difficult access, sloped terrain, concrete drilling, jackhammering, and other heavy site work. Those details are better accounted for up front than discovered halfway through installation.
Stage 4: Site Preparation and Utility Locates
Before post holes are dug, the work area needs to be ready. Utility locates should be requested for any buried services that may run through the fence line. This can include electrical, gas, water, telecommunications, irrigation, septic components, or private lines serving sheds and outbuildings.
Homeowners can help keep the timeline on track by clearing personal items, planters, furniture, debris, and stored materials away from the proposed fence line. Pets should be secured, and crews need access to gates, side yards, driveways, or other agreed entry points.
Preparation can take a few hours on an open lot or several days on a complex property. Trees, roots, old concrete, buried rock, deteriorated fencing, and limited equipment access all add time. In some cases, an existing fence must be removed and hauled away before the new work can begin.
Stage 5: Posts, Concrete, and Installation
The installation stage is where the project becomes visible quickly. Crews lay out the fence line, set corner and gate posts, dig or drill post holes, and establish the height and alignment. Posts are the foundation of the fence. Taking time to set them correctly matters more than moving fast on the first day.
A small, straightforward backyard fence may be installed in one to three days. A larger cedar privacy fence, a multi-gate project, or a commercial enclosure may take several days to a week or more. Extensive rock excavation, concrete drilling, steep grades, and custom fabrication can extend that timeline.
Concrete needs time to cure. Crews can often continue with portions of the build while posts set, but heavy gate hardware or full tensioning should not be rushed before the structure is ready. The exact sequence depends on the material and design. Chain link and wire systems require proper tensioning, while cedar installations require careful alignment and consistent spacing for a finished appearance that holds up over time.
Stage 6: Gates, Cleanup, and Final Walkthrough
Gates are often installed and adjusted near the end of the project. They need to swing freely, latch securely, and clear the ground through seasonal changes where possible. On a sloped site, this may require a different gate design or additional grading to achieve reliable operation.
After installation, the crew removes work debris and completes a final walkthrough. This is the time to check fence lines, gate operation, hardware, finish details, and any agreed cleanup. If the fence was designed around a specific need, such as pet containment, deer exclusion, or commercial access control, verify that the finished work meets that purpose before the crew leaves.
How to Keep Your Project on Schedule
The most reliable way to shorten the fence installation timeline is to make key decisions before the job is booked. Confirm your preferred material, fence height, gate locations, property-line information, and any approval requirements early. Tell the contractor about drainage concerns, underground systems, accessibility issues, or deadlines that may affect the work.
It also helps to stay flexible about weather. A short delay is preferable to setting posts in conditions that compromise quality or make the site unsafe. Quality workmanship is not measured by how quickly a crew leaves the property. It is measured by straight lines, solid posts, functional gates, and a fence built for the conditions it will face.
If you are planning a fence for this season, request an on-site quote early. A clear plan gives your contractor time to address the hard parts properly and gives you a finished fence that is ready for years of use.

